

Do this one test to confirm your meat thermometer is accurate: an ice water bath. Fill a glass with crushed ice, top it off with water, stir, and insert the probe at least 2 inches deep. It should read 32°F, give or take 2°F. Run this check regularly, such as a couple of times per year, to maintain trust in your readings.
TL;DR:
- The ice water bath method provides a reliable, elevation-independent way to calibrate meat thermometers by checking for a 32°F reading.
- Avoid common mistakes such as holding the thermometer stem instead of the handle, which warms the probe and skews results.
- Digital and dial thermometers can often be recalibrated using a nut or reset button; non-adjustable models require manual offset corrections.
- Regular testing at least once a year, especially after impacts or extreme temperature exposure, ensures consistent accuracy.
- Most calibration issues stem from user error or minor drift; if a thermometer drifts more than 2°F and cannot be fixed, replacement is advised.
Table of Contents
- Ice Water Method: Exact Steps and Common Mistakes to Avoid
- Boiling Water Method and How to Correct for Elevation
- How to Calibrate or Correct Readings for Different Thermometer Types
- Troubleshooting Checklist and Replacement Criteria
- Maintenance Schedule: How Often to Test, Clean, and Store Your Thermometer
- Why Wine Drop Cookery Trusts the Ice Bath Test
- Where to Buy Reliable Thermometers That Simplify Calibration
- Sources
- FAQ
Ice Water Method: Exact Steps and Common Mistakes to Avoid
You’re going to reach for this method more than any other, and for good reason: it works the same whether you’re cooking at sea level in Miami or up a mountain in Denver. Freezing point doesn’t budge with elevation, which makes the ice water calibration method the one home cooks should default to every time.
Here’s the routine:
- Fill a tall glass with crushed ice, then add cold water until the ice is just covered. Stir it well.
- Wait about a minute so the mixture settles at its coldest point.
- Insert the thermometer stem at least 2 inches into the ice water, keeping it away from the sides and bottom of the glass.
- Hold steady for at least 30 seconds until the reading stabilizes.
- Check the display. It should read approximately 32°F. If it is notably off, adjust it using the calibration nut or reset button (more on that by device type below).
The most common mistake? Gripping the stem itself instead of the head, which warms the metal and skews your reading before you even get a stable number.
Pro Tip: Hold the thermometer by its dial or handle only, and give the ice water a good stir right before you take your reading. A lazy stir leaves warmer pockets that throw off the whole test.
Boiling Water Method and How to Correct for Elevation
The boiling water method has its place, especially if you’re checking a thermometer meant for candy-making, deep frying, or other high-heat jobs where 32°F tells you nothing useful.
Here’s what to know before you try it:
- Bring distilled or clean water to a full, rolling boil in a saucepan as suggested by the tea brewing temperatures guide.
- Insert the stem at least 2 inches deep, avoiding the pan’s sides and bottom.
- Wait until the reading holds steady, usually 30 to 60 seconds.
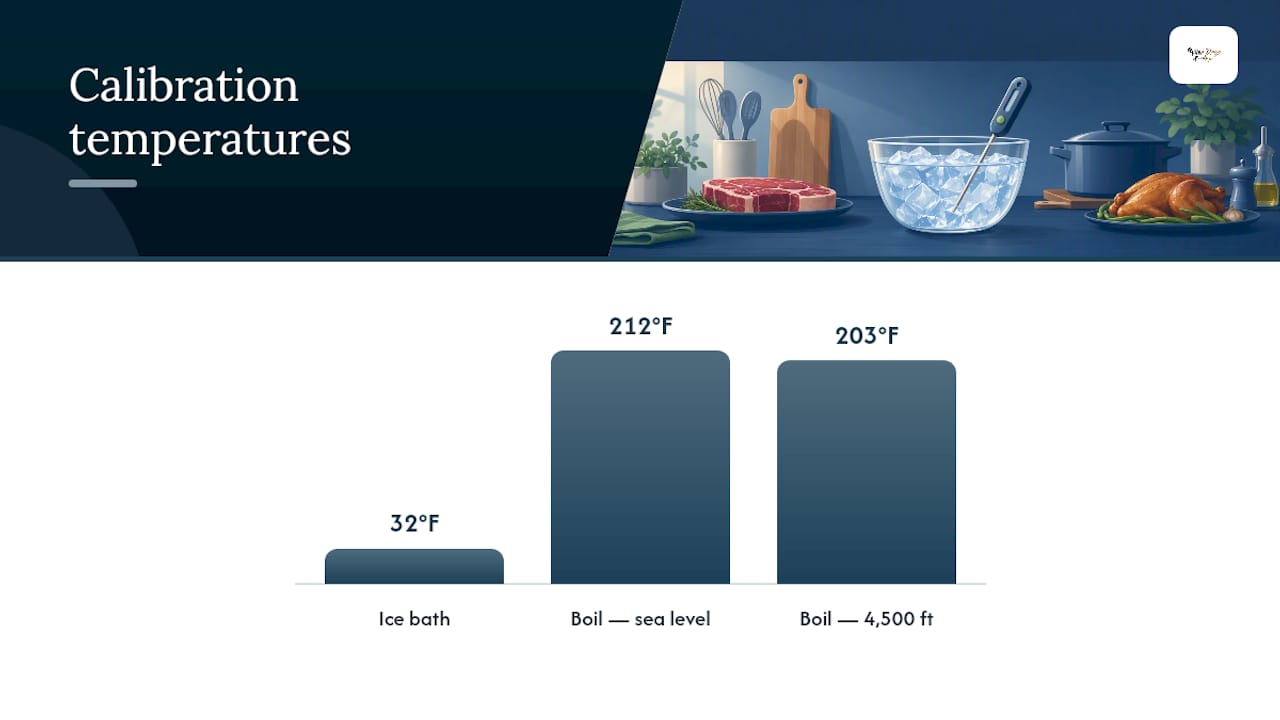
- At sea level, boiling water should read 212°F.
- Every 500 feet of elevation gain drops that number by roughly 1°F, so check your local altitude correction before assuming your thermometer is wrong.
That altitude math is exactly why most home cooks skip this method for everyday use. If you live at 4,500 feet, boiling water reads closer to 203°F, not 212°F, and forgetting that adjustment will make a perfectly accurate thermometer look broken. The ice bath sidesteps that problem entirely, which is why it’s the better everyday default.
How to Calibrate or Correct Readings for Different Thermometer Types
Not every thermometer adjusts the same way, and knowing your device type saves you from fighting a tool that was never designed to be recalibrated in the first place.
- Dial or mechanical thermometers: Look for a hex nut on the underside of the dial head. Hold it with a wrench or pliers, then twist while the probe sits in your ice bath until the needle lands on 32°F. Dial thermometers need a longer settling time, often 1 to 2 minutes, before the needle stabilizes.
- Adjustable digital instant-read: Check the manual for a reset or calibration button, often held down for a few seconds while the probe sits in the ice water. Many models auto-correct on the spot.
- Non-adjustable digital models: Plenty of budget digital thermometers have no calibration function at all. If yours falls into this camp, write down the offset and mentally correct for it every time you cook.
- Probe and oven-controller setups: Check the manufacturer’s menu for a calibration option, and always plug the same probe into the same port. Swapping probes between ports on multi-probe controllers creates offsets that look like equipment failure but are really just a mismatched port.
If a non-adjustable thermometer drifts more than about 2°F, replacement beats tracking an offset forever. For food-service kitchens working under HACCP rules, calibration checks happen daily or weekly using NIST-traceable reference thermometers, a level of precision most home kitchens don’t need but worth knowing if you ever want lab-grade certainty.
Pro Tip: If you’re not sure which category your thermometer falls into, check the manual for the words “calibration” or “reset.” No mention of either usually means it’s a fixed-offset device.
Troubleshooting Checklist and Replacement Criteria
Before you assume your thermometer is broken, run through the basics. Most calibration complaints trace back to something simple, not a faulty sensor.
- Check the battery. Digital displays flicker or read low when power is fading.
- Inspect the probe for bends, cracks, or a stem that’s separated from its housing.
- Make sure the tip isn’t touching bone, pan bottom, or the sides of your cooking vessel, all of which throw off readings.
- Give it 10 to 20 seconds to stabilize before trusting the number on the display.
- Retest in an ice bath. If the offset is 2°F or less, note it and keep using the thermometer with that correction in mind.
- If the offset exceeds 2°F, or it won’t hold steady at all, replace the unit or send it to the manufacturer for service.
Always re-verify after any adjustment by repeating the ice water test. One clean reading of 32°F confirms the fix stuck. If you’re still getting inconsistent numbers after cleaning contacts and swapping batteries, that’s your cue to contact the manufacturer rather than keep guessing.
Maintenance Schedule: How Often to Test, Clean, and Store Your Thermometer
Calibration isn’t a one-time chore. Build it into your kitchen routine the same way you’d sharpen a knife or season a cast iron pan.
- Test regularly each year as a baseline, and consider additional checks before major cooking events.
- Test again anytime the thermometer gets dropped or exposed to extreme heat or cold, since that kind of shock is a common cause of sudden calibration drift.
- Clean the probe after every use with hot, soapy water, then rinse and sanitize before air drying.
- Skip submerging any digital unit that isn’t explicitly rated waterproof.
- Store it in a protective case or sleeve, away from drawers where heavy utensils could bend the stem.
Pro Tip: Keep a small sticky note or log near your thermometer with the date of your last calibration check. It takes ten seconds and saves you from wondering if your last reading was trustworthy.
Why Wine Drop Cookery Trusts the Ice Bath Test
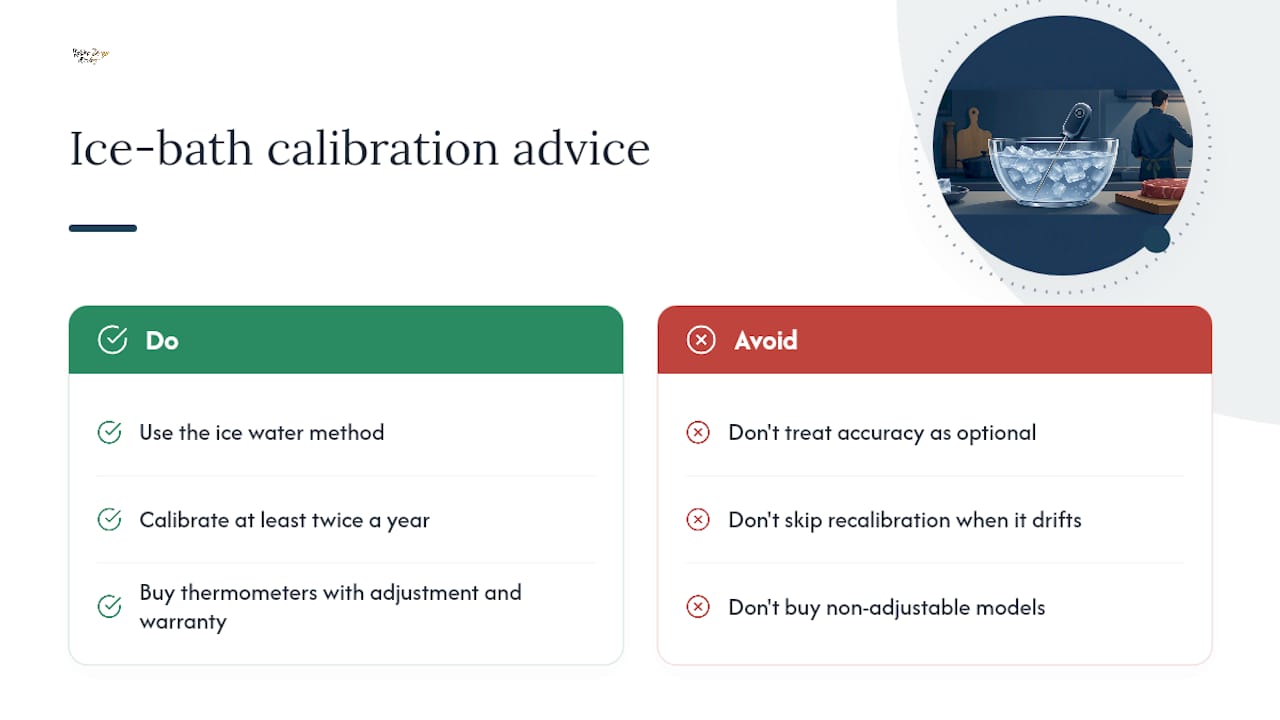
We lean on the ice water method for every thermometer recommendation we make, because it’s the one test that holds up no matter where you’re cooking. An accurate thermometer isn’t a nice extra. It’s the line between a perfectly cooked roast and a meal that makes someone sick, and that’s worth taking seriously twice a year, minimum.
When you’re shopping for a new thermometer, look for one with a genuine adjustment feature and a warranty that backs it up. A tool you can actually recalibrate saves you from replacing gear the moment it drifts a couple of degrees off.
— Alan
Where to Buy Reliable Thermometers That Simplify Calibration
Skip the guesswork of a bargain-bin thermometer with no reset function, and you skip half the calibration headaches in this article. Thermometers built for cooks who want a device that actually holds its accuracy over time, not one you have to babysit with a running offset log, are available online.

The digital meat thermometer for cooking gives you a fast instant-read display for quick checks on steaks, poultry, and roasts. If you’re running a full roast or smoking on the grill, the dual-probe digital meat thermometer with alarm lets you monitor two cuts at once without opening the oven or lid. Cooking outdoors or near the sink often means water exposure, and that’s where the waterproof instant-read thermometer earns its keep.
Compare adjustability, waterproofing, and probe length across the full kitchen essentials collection, and pick the one that matches how often you cook and how much precision your meals demand.
Sources
- Food thermometers — FSIS
- Food safety basics: High-altitude cooking — FSIS
- Can I trust my meat thermometer? — MSU Extension
FAQ
What should I do if my meat thermometer shows the wrong temperature?
Run the ice water test first. If the reading is off by more than 2°F, adjust it using the calibration nut or reset function, or replace it if it has no adjustment feature.
How do I know if my digital meat thermometer is accurate?
Insert it 2 inches into an ice water bath and wait 30 seconds. An accurate thermometer reads 32°F within a 2°F margin.
How do I calibrate my digital thermometer?
Look for a reset or calibration button in the manual, hold the probe in ice water until it stabilizes, then press and hold the button until the display shows 32°F.
What should I do if a thermometer won’t calibrate?
If there’s no adjustment mechanism or it still won’t hold 32°F after ice bath testing, note the offset for future use or replace the unit, especially if the drift exceeds 2°F.
0 comments