

Cold Brew at Home Easy Concentrate Recipe for Beginners Combine coarsely ground coffee and cold filtered water at a strong concentrate ratio by weight, steep in the fridge for about 16 to 18 hours, strain, and dilute 1:1 with water or milk before serving. That’s the whole method. The concentrate ratio is intentionally strong, so that 1:1 dilution step is not optional — it’s what turns a syrupy extract into a smooth, drinkable cup. Stored in an airtight container, your cold brew concentrate stays fresh in the fridge for up to two weeks.
Table of Contents
- What do you need to make cold brew at home?
- How to make cold brew concentrate step by step
- What ratio should you use — concentrate or ready-to-drink?
- Which grind size and beans work best for cold brew?
- How does steep time affect your cold brew?
- Which filtration method gives you the clearest cup?
- How do you dilute and serve cold brew concentrate?
- How should you store cold brew and how long does it last?
- How do you fix weak, bitter, muddy, or flat cold brew?
- Key Takeaways
- What actually matters most when you start making cold brew
- Your cold brew setup, made easier with Wine Drop Cookery
- Useful sources
- FAQ
What do you need to make cold brew at home?
Good news: you don’t need dedicated cold-brew hardware. Common kitchen tools — a jar, a sieve, and a cloth or paper filter — produce excellent results when paired with proper straining technique.
Ingredients:
- Coarsely ground coffee (more on grind size below)
- Cold or filtered water
Equipment:
- A 32-oz or 64-oz mason jar, or any pitcher with a lid
- Kitchen scale (strongly recommended) or measuring cups
- Fine-mesh sieve
- Cheesecloth, a nut-milk bag, or paper coffee filters
- An airtight glass bottle or jar for storage
Pro Tip:A basic kitchen scale is the single most impactful upgrade you can make. Weight-based measuring locks in a consistent ratio every time, so your second batch tastes as good as your first. No scale? Use 1 cup of coarse grounds to 4 cups of water as your volume equivalent for a concentrate.
How to make cold brew concentrate step by step
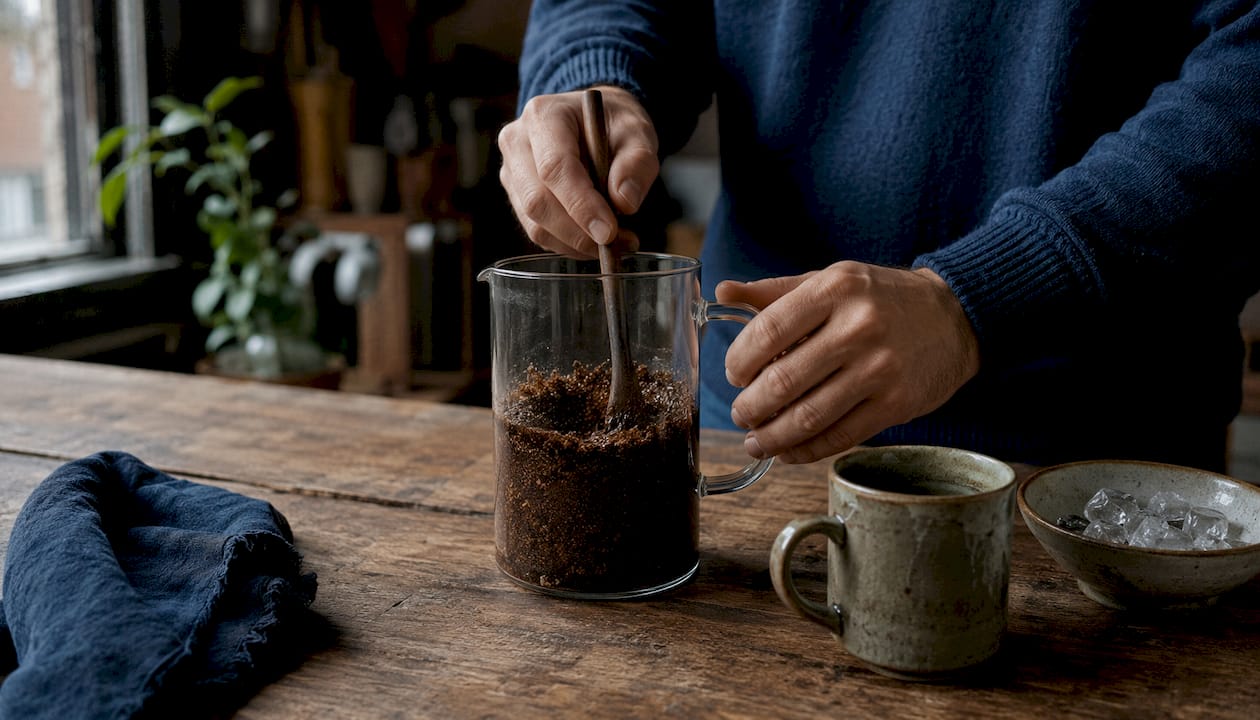
This method uses a 32-oz mason jar and a 1:4 concentrate ratio. It’s repeatable, beginner-friendly, and requires no special equipment.
- Measure your coffee. Weigh out 75g of coarsely ground coffee (roughly ¾ cup by volume). For a 32-oz jar, this produces a strong concentrate you’ll dilute before drinking.
- Add the coffee to your jar. Pour the grounds in, then slowly add 300g (about 1¼ cups) of cold filtered water. Stir gently to wet all the grounds — dry pockets in the center are a common issue, so take a moment to check.
- Top up with remaining water. Add the rest of your water to reach a total of 300g water to 75g coffee (1:4 by weight). Give it one more gentle stir. Avoid vigorous shaking, which can agitate the grounds and affect extraction.
- Cover and refrigerate. Seal the jar with a lid or cover with cheesecloth secured by a rubber band. Place it in the fridge.
- Steep for 16–18 hours. Check it at the 16-hour mark. Taste a small diluted sample (1:1 with water) to gauge strength. If it tastes flat, let it go another 2 hours.
- Strain slowly. Set a fine-mesh sieve lined with cheesecloth or a paper filter over a bowl or pitcher. Pour the brew through gradually — rushing this step leads to a murky result.
- Transfer to storage. Pour the strained concentrate into an airtight glass jar or bottle. Label it with the date and refrigerate immediately.
Pro Tip:Pour the water over the grounds rather than dumping grounds into water. This wets them more evenly and reduces dry clumps at the bottom of the jar.
What ratio should you use — concentrate or ready-to-drink?
The two most common approaches are a 1:4 concentrate and a 1:8 ready-to-drink brew. Each has a clear use case.
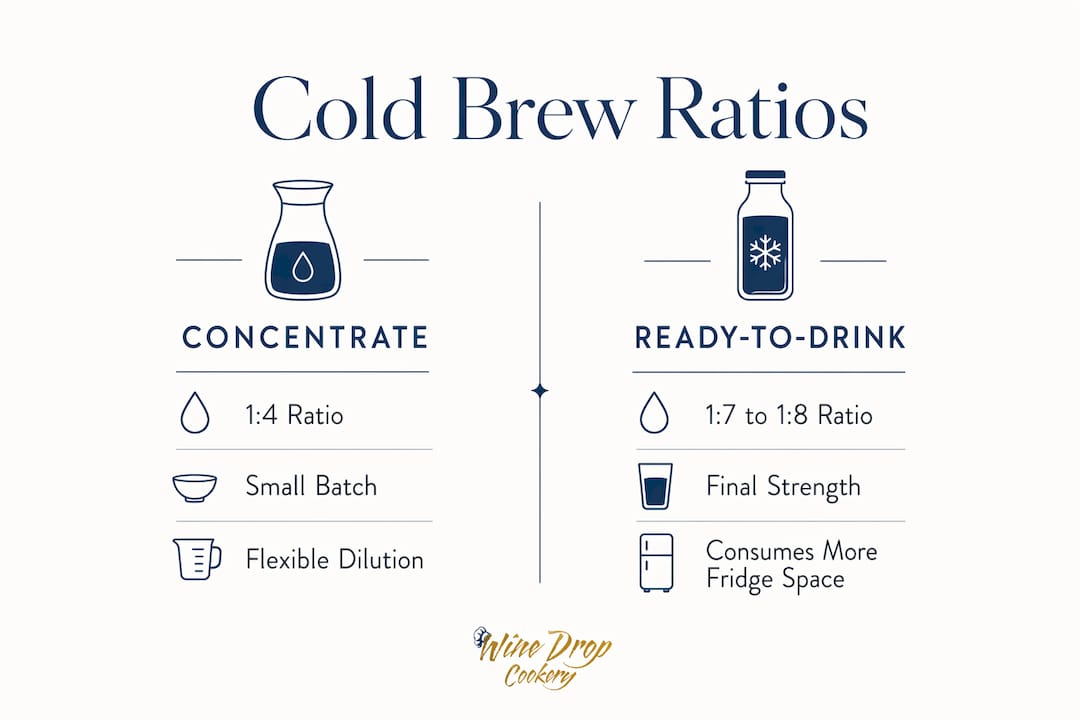
Concentrate (1:4): You brew a small, intense batch and dilute to taste at serving time. It takes up less fridge space and gives you flexibility — one batch can become an iced black coffee, a latte, or a cold brew tonic depending on what you add. This is the better choice for most home brewers.
Ready-to-drink (1:7 to 1:8): You brew at final drinking strength, so no dilution is needed. The tradeoff is that it occupies more fridge space and offers less flexibility for different serving styles.
| Batch size | Ratio | Coffee | Water | Notes |
|---|---|---|---|---|
| 32 oz jar | 1:4 concentrate | 75g (¾ cup) | 300g (1¼ cups) | Dilute 1:1 before drinking |
| 32 oz jar | 1:8 ready-to-drink | — | — | Drink as-is over ice |
| 64 oz jar | 1:4 concentrate | — | — | Makes ~8 servings after dilution |
| 64 oz jar | 1:8 ready-to-drink | — | — | Makes ~4–5 servings |
For most households, the 1:4 concentrate is the practical choice: it’s space-efficient and flexible for different serving styles throughout the week.
Which grind size and beans work best for cold brew?
Grind size affects both flavor and filtration. Get this right and everything else gets easier.
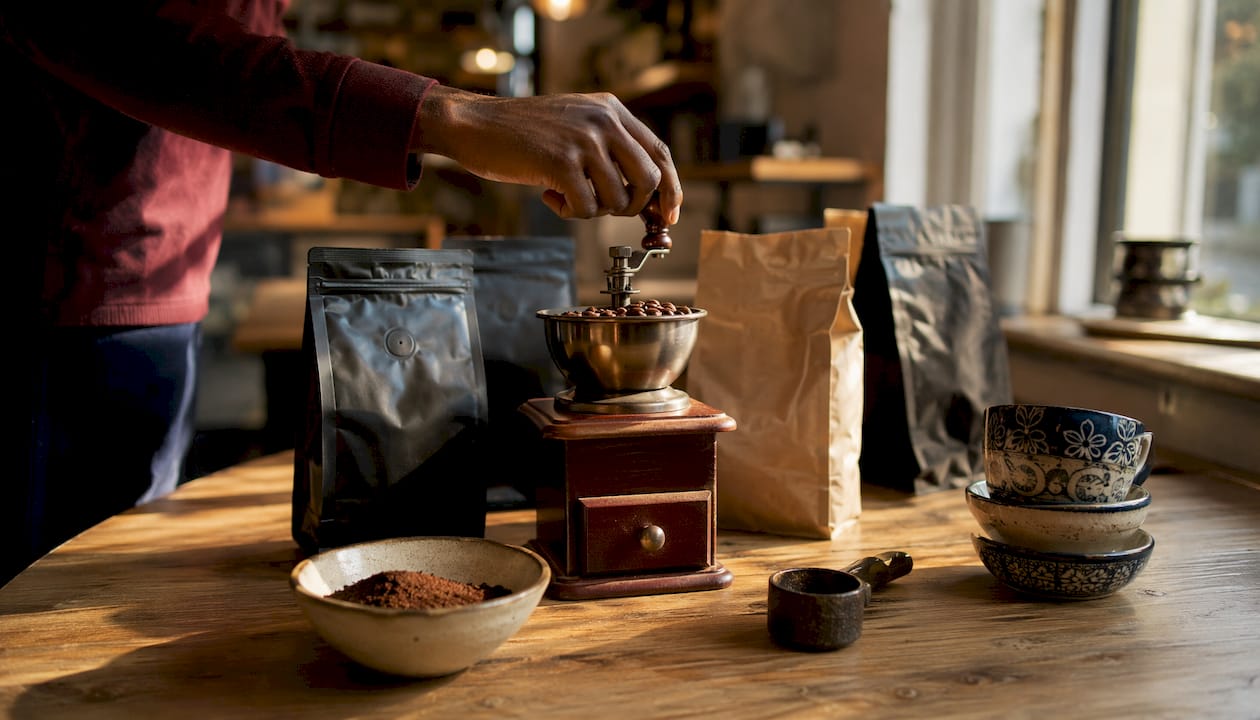
Aim for a coarse grind that looks and feels like raw sugar or coarse sea salt. If you rub a pinch between your fingers, the particles should feel gritty but not powdery. A grind that’s too fine will clog your filter, slow straining to a crawl, and push bitter, muddy flavors into the final brew.
Bean suggestions:
- Medium to dark roasts tend to shine in cold brew. Their chocolate, caramel, and nutty notes extract beautifully at cold temperatures, producing a naturally sweet, low-acid cup.
- Light roasts can work but often taste thin or sour when cold-brewed — their brighter acids don’t always translate well without heat.
- Single-origin beans from Brazil or Colombia are popular starting points for their mild, approachable flavor profiles.
If you’re using pre-ground coffee: Most grocery-store pre-ground coffee is too fine for cold brew. Look for bags labeled “coarse grind” or “cold brew grind.” In a pinch, a French press grind setting is a reasonable substitute.
Pro Tip:Freshness matters more than roast level. Coffee ground more than two weeks ago will produce a flat, lifeless brew regardless of how well you nail the ratio and steep time.
How does steep time affect your cold brew?
Temperature and time work together. Change one and you change the flavor.
- Fridge steep (16–18 hours): The standard approach. Room-temperature steeps are faster, but fridge steeping is safer and more forgiving, especially in warm kitchens. The cold environment slows extraction, producing a smoother, less acidic result.
- Safe fridge range: 12–24 hours. Under 12 hours and the brew often tastes weak and watery. Beyond 24 hours, you risk over-extraction — a harsh, almost medicinal bitterness.
- Room-temperature steep (8–12 hours): Faster, but kitchen temperature matters. When your kitchen runs above 75°F, room-temp steeps can develop off-flavors as the grounds sit in warm water for hours. Stick to the fridge if you’re unsure.
- Flavor rule of thumb: Longer steeps extract more intensity and body. Shorter steeps produce a lighter, sometimes brighter cup. Fix your steep time first (16 hours is a reliable anchor), then adjust your ratio if you want more or less strength.
For routine consistency, most home brewers lock in a steep time and tweak the ratio in small increments rather than changing both variables at once.
Which filtration method gives you the clearest cup?
Your filter choice shapes the texture and clarity of the final brew more than most people expect.
| Method | Clarity | Ease | Sediment | Best for |
|---|---|---|---|---|
| Fine-mesh sieve alone | Low | Easy | High | Quick straining only; needs a second pass |
| Cheesecloth / nut-milk bag | Medium | Easy | Medium | Everyday home brewing |
| Paper coffee filter | High | Slow | Very low | Clean, café-style clarity |
| French press plunger | Medium | Easy | Medium | Brewers who already own a French press |
For the cleanest result, double-strain: pour through a coarse sieve first to catch the bulk of the grounds, then pass the liquid through a paper filter or cheesecloth-lined sieve. This two-step process removes the fine silt that keeps extracting in the jar and makes the brew harsher over time.
- If your brew looks muddy after one pass, run it through a paper filter before storing.
- A nut-milk bag works well for large batches — pour the whole jar in, let it drain, and squeeze gently.
- French press owners can steep directly in the press and plunge before straining through a paper filter for extra clarity.
How do you dilute and serve cold brew concentrate?
Concentrate is intentionally intense. Most beginners are surprised by how strong it tastes straight from the jar — that’s by design. Dilution is a separate, necessary step.
Standard starting point: 1 part concentrate to 1 part water or milk over ice. Adjust from there.
- Black on ice: 1:1 concentrate to cold filtered water in a glass with ice. Simple and clean.
- Cold brew latte: 1:1 concentrate to whole milk or oat milk. Pour over ice in a handmade stoneware mug for a café-worthy presentation at home.
- Cold brew tonic: 1 part concentrate to 2 parts sparkling tonic water. Refreshing and slightly bitter — a great summer option.
- Coffee ice cubes: Freeze leftover concentrate in an ice cube tray. Use these cubes instead of regular ice so your drink never gets watered down as it melts.
- Quick sweetening: A small pour of simple syrup or a drizzle of honey blends more smoothly into cold brew than granulated sugar, which doesn’t dissolve easily in cold liquid.
For custom drinkware that makes serving feel special, personalized coffee mugs from Shay’s Print Shop are a fun way to give your cold brew routine a personal touch.
How should you store cold brew and how long does it last?
Proper storage keeps your batch tasting fresh all week.
- Use airtight glass containers. Glass doesn’t absorb odors or flavors the way plastic can, and an airtight seal minimizes oxidation. Mason jars and glass swing-top bottles both work well.
- Refrigerate immediately after straining. Never leave strained cold brew at room temperature for more than an hour.
- Concentrate shelf life: Up to two weeks in the fridge when stored airtight. Taste and smell it before each use — if it smells sour, fermented, or off, discard the batch.
- Ready-to-drink batches degrade faster because they’re already diluted. Plan to finish those within 5–7 days.
- Label your jars with the brew date. It takes five seconds and saves you from guessing whether a jar in the back of the fridge is still good.
- Avoid reheating concentrate. If you want a warm coffee drink, dilute with hot water at serving time rather than heating the concentrate directly — reheating changes the flavor profile and can make it taste flat.
Concentrate stored in an airtight glass container stays fresh in the fridge for up to two weeks — ready-to-drink batches are best consumed within 5–7 days.
How do you fix weak, bitter, muddy, or flat cold brew?
| Symptom | Most likely cause | Quick fix |
|---|---|---|
| Weak / watery | Ratio too dilute, steep too short | Use 1:4 ratio; steep at least 16 hours |
| Bitter / harsh | Grind too fine, steeped too long | Use coarser grind; reduce steep to 16 hours |
| Muddy / gritty | Grind too fine, poor filtration | Double-strain through paper filter |
| Flat / lifeless | Stale coffee, under-extracted | Use fresh beans; extend steep by 2–4 hours |
| Sour / acidic | Under-extracted, light roast | Extend steep time or switch to medium/dark roast |
Practical fixes for your current batch:
- Too strong? Dilute further — try 1:2 concentrate to water instead of 1:1.
- Too weak? You can’t re-steep a finished batch, but you can use it as the “water” in your next brew for a stronger result.
- Muddy? Pour it through a paper filter before serving. It takes longer but clears up most of the silt.
- Off smell or unusual fermentation? Discard the batch. Cold brew is safe when kept cold and consumed within the recommended window, but when in doubt, throw it out.
Key Takeaways
Cold brew concentrate brewed at a 1:4 ratio, steeped 16–18 hours in the fridge, strained through a paper filter, and diluted 1:1 before serving produces a smooth, repeatable cup with basic kitchen tools.
| Point | Details |
|---|---|
| Use a 1:4 ratio for concentrate | Combine 75g coffee with 300g cold water in a 32-oz jar; dilute 1:1 before drinking. |
| Coarse grind is non-negotiable | Aim for raw sugar texture; fine grinds cause bitterness and clog filters. |
| Steep 16–18 hours in the fridge | The safe range is 12–24 hours; fridge steeping prevents off-flavors in warm kitchens. |
| Double-strain for clarity | A coarse sieve followed by a paper filter removes fine silt that keeps extracting. |
| Wine Drop Cookery coffee tools | An 8-cup drip coffee brewer and stoneware mugs from Wine Drop Cookery round out a home coffee setup. |
What actually matters most when you start making cold brew
Most beginner guides spend too much time on equipment and not enough on the one thing that actually determines whether your first batch succeeds: the dilution step. Concentrate is not a finished drink. It’s a building block. The number of people who take their first sip straight from the jar, decide cold brew “isn’t for them,” and never try again is genuinely frustrating — because they were one tablespoon of water away from a great cup.
The second thing most guides understate is grind coarseness. A medium grind might look close enough, but it will slow your filtration, push bitter compounds through the filter, and make you think you did something wrong with your ratio or steep time. You didn’t. The grind was just too fine.
Cold brew is forgiving once you understand those two variables. If your first batch is too strong, dilute more. If it tastes flat, add two hours to your next steep. The method rewards small, deliberate adjustments far more than expensive gear or exotic beans.
Your cold brew setup, made easier with Wine Drop Cookery
Making a great batch of cold brew at home comes down to a few reliable tools: a good storage vessel, the right serving cup, and a coffee maker you can count on for your daily routine.

Wine Drop Cookery carries the kitchen essentials that make this method click. The 8-cup drip coffee brewer is a practical companion for mornings when you want a hot cup alongside your cold brew prep. For serving, the handmade stoneware mugs bring a warm, tactile feel to every glass. And if you’re building out your kitchen setup beyond coffee, the full range of kitchen essentials at Wine Drop Cookery covers everything from prep tools to elegant servingware. Browse the collection and find what fits your routine.
Useful sources
- Cold Brew Coffee Ratio: The Only Guide You Need | Bare Brew — ratio guidance and equipment reassurance for home brewers
- Cold Brew Without the Fuss | Brew Ritual — beginner-friendly baseline ratios and grind-size advice
- Cold Brew Iced Coffee Recipe | Serious Eats — steep-time and temperature tradeoffs, dilution guidance, and shelf-life data
- Coffee to Water Ratio for Cold Brew | Our Coffee Corner — weight vs. volume equivalents and consistency tips
- Cold Brew Coffee Ratio Calculator — batch-scaling and fridge-space tradeoffs for concentrate vs. ready-to-drink
FAQ
Can you make cold brew from regular coffee?
Yes. Any coarsely ground coffee works for cold brew at home — you don’t need a special “cold brew blend.” Medium to dark roasts tend to produce the smoothest, least acidic results, but your everyday grocery-store coffee is a perfectly fine starting point.
Is cold brew just coffee and water?
Cold brew concentrate is exactly that: coarsely ground coffee steeped in cold water for 12–24 hours, then strained. No heat, no special additives. The slow, cold extraction is what gives it a smoother, less acidic flavor compared to hot-brewed iced coffee.
How is cold brew different from iced coffee?
Iced coffee is hot-brewed coffee poured over ice, which can taste sharp or watery as the ice melts. Cold brew is never exposed to heat during brewing, which produces a naturally sweeter, lower-acid concentrate that holds up well over ice.
How long should you steep cold brew in the fridge?
The standard fridge steep is 16–18 hours, with a safe range of 12–24 hours. Under 12 hours often produces a weak, watery result; beyond 24 hours risks a bitter, over-extracted brew.
Do you need a scale to make cold brew at home?
A scale produces the most consistent results, but it’s not required. The reliable volume substitute is 1 cup of coarse grounds to 4 cups of cold water for a concentrate, which you then dilute 1:1 before drinking.
0 comments